

We had some house guests stay in the middle of July, and then planned a trip ourselves for the end of August, with more friends staying at our place on our return. What better time to embark on a major project in the guest room?
We’d done some perusing of flooring options for basement rooms, and settled on an engineered wood floor from Kahrs. Installed as a floating floor (i.e. not attached to the sub-floor or walls), it can handle the temperature and moisture variation that comes with the territory. And because it has a veneer of solid wood on top, it doesn’t look like plastic or feel fake. In fact, you can refinish it, just like any other hardwood floor.
So we pulled up the wall-to-wall carpet that had some stains and some mystery lumps underneath, and were thankful to find that the carpet pad wasn’t glued down particularly well.

It did take some scraping to get the glue up, but it went pretty quickly.
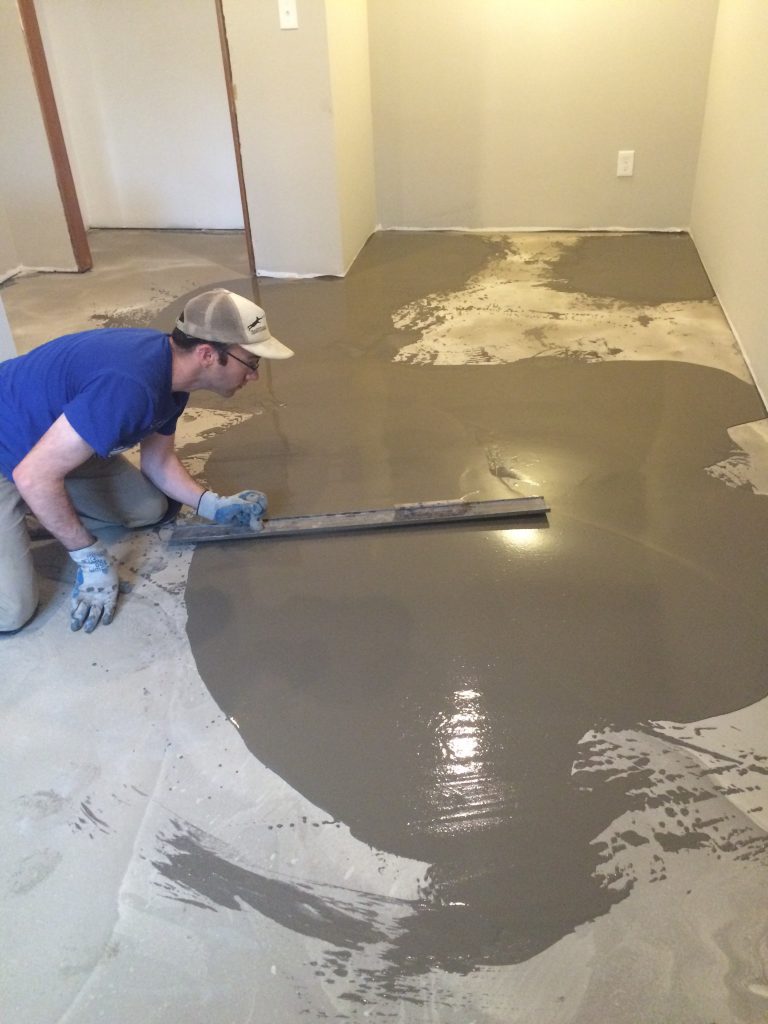
There was some bumpiness in the concrete, and so we diligently watched plenty of YouTube videos about self-leveling compound (SLC). No link because none stood out as particularly helpful – turns out, there’s not much to it. Apply primer, mix SLC according to the directions on the bag (one bag at a time) and pour.

I tried to cheat a bit as shown below – there was an area of the floor, about 4′ x 8′, that was around 1/2-3/4″ higher than the rest of the room. To bring the rest of the floor up to that height would have been quite expensive. A 50 lb bag of SLC runs about $35, and only covers 12 sq ft at 1/2″ thickness, so we would have needed 20 or more bags. Maybe we’ll regret not just spending the money, but for now, we soldier on.
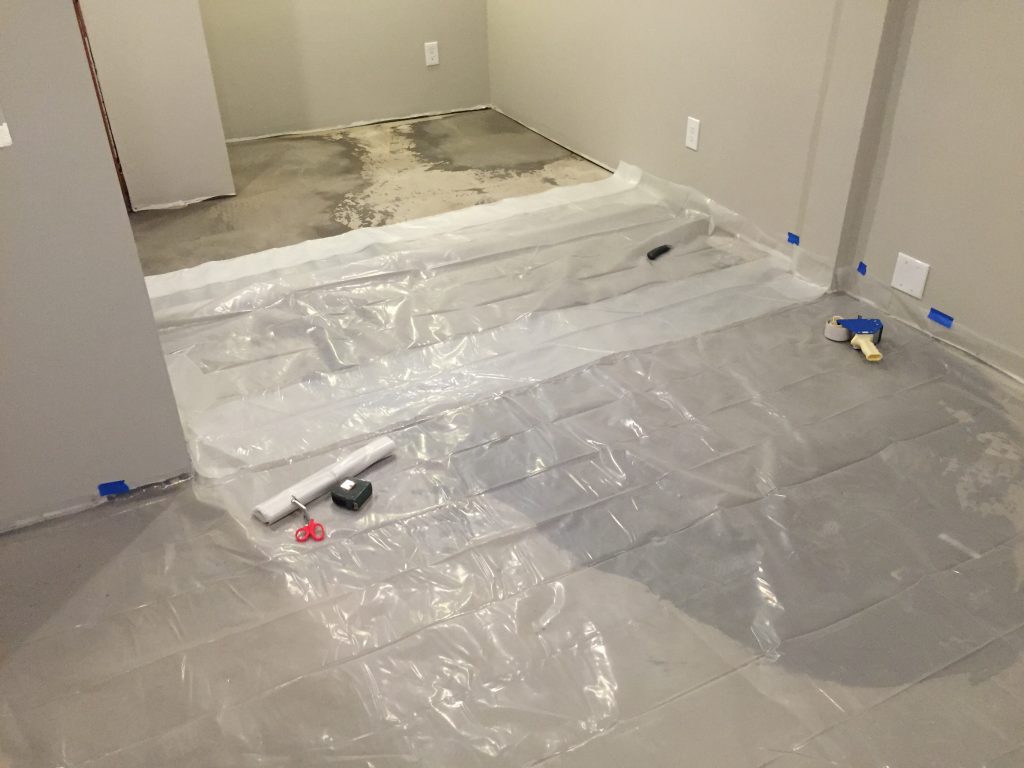
After the SLC, we put down a moisture barrier of 6 mil poly sheets. Conveniently, Lowe’s sells 250 sq ft rolls, which fit more or less exactly.
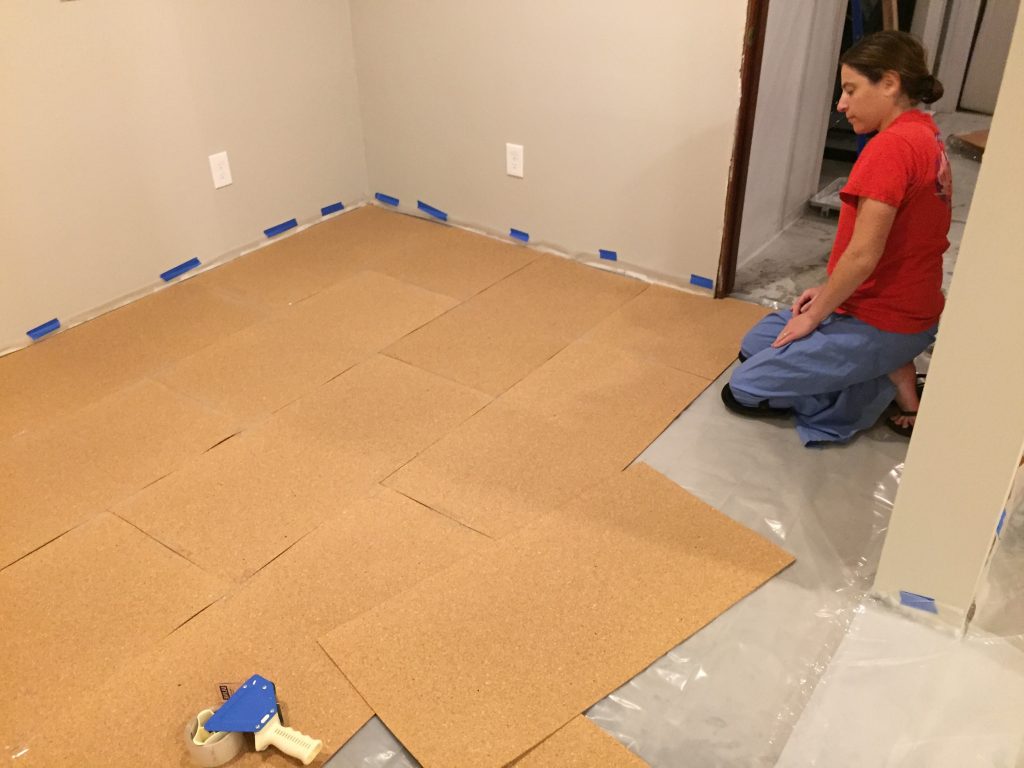
After the plastic sheet comes a layer of padding. We chose cork sheets, because they also provide a bit of insulation. Since this is a basement room, anything we could do to make the floor a little warmer under foot seemed wise.
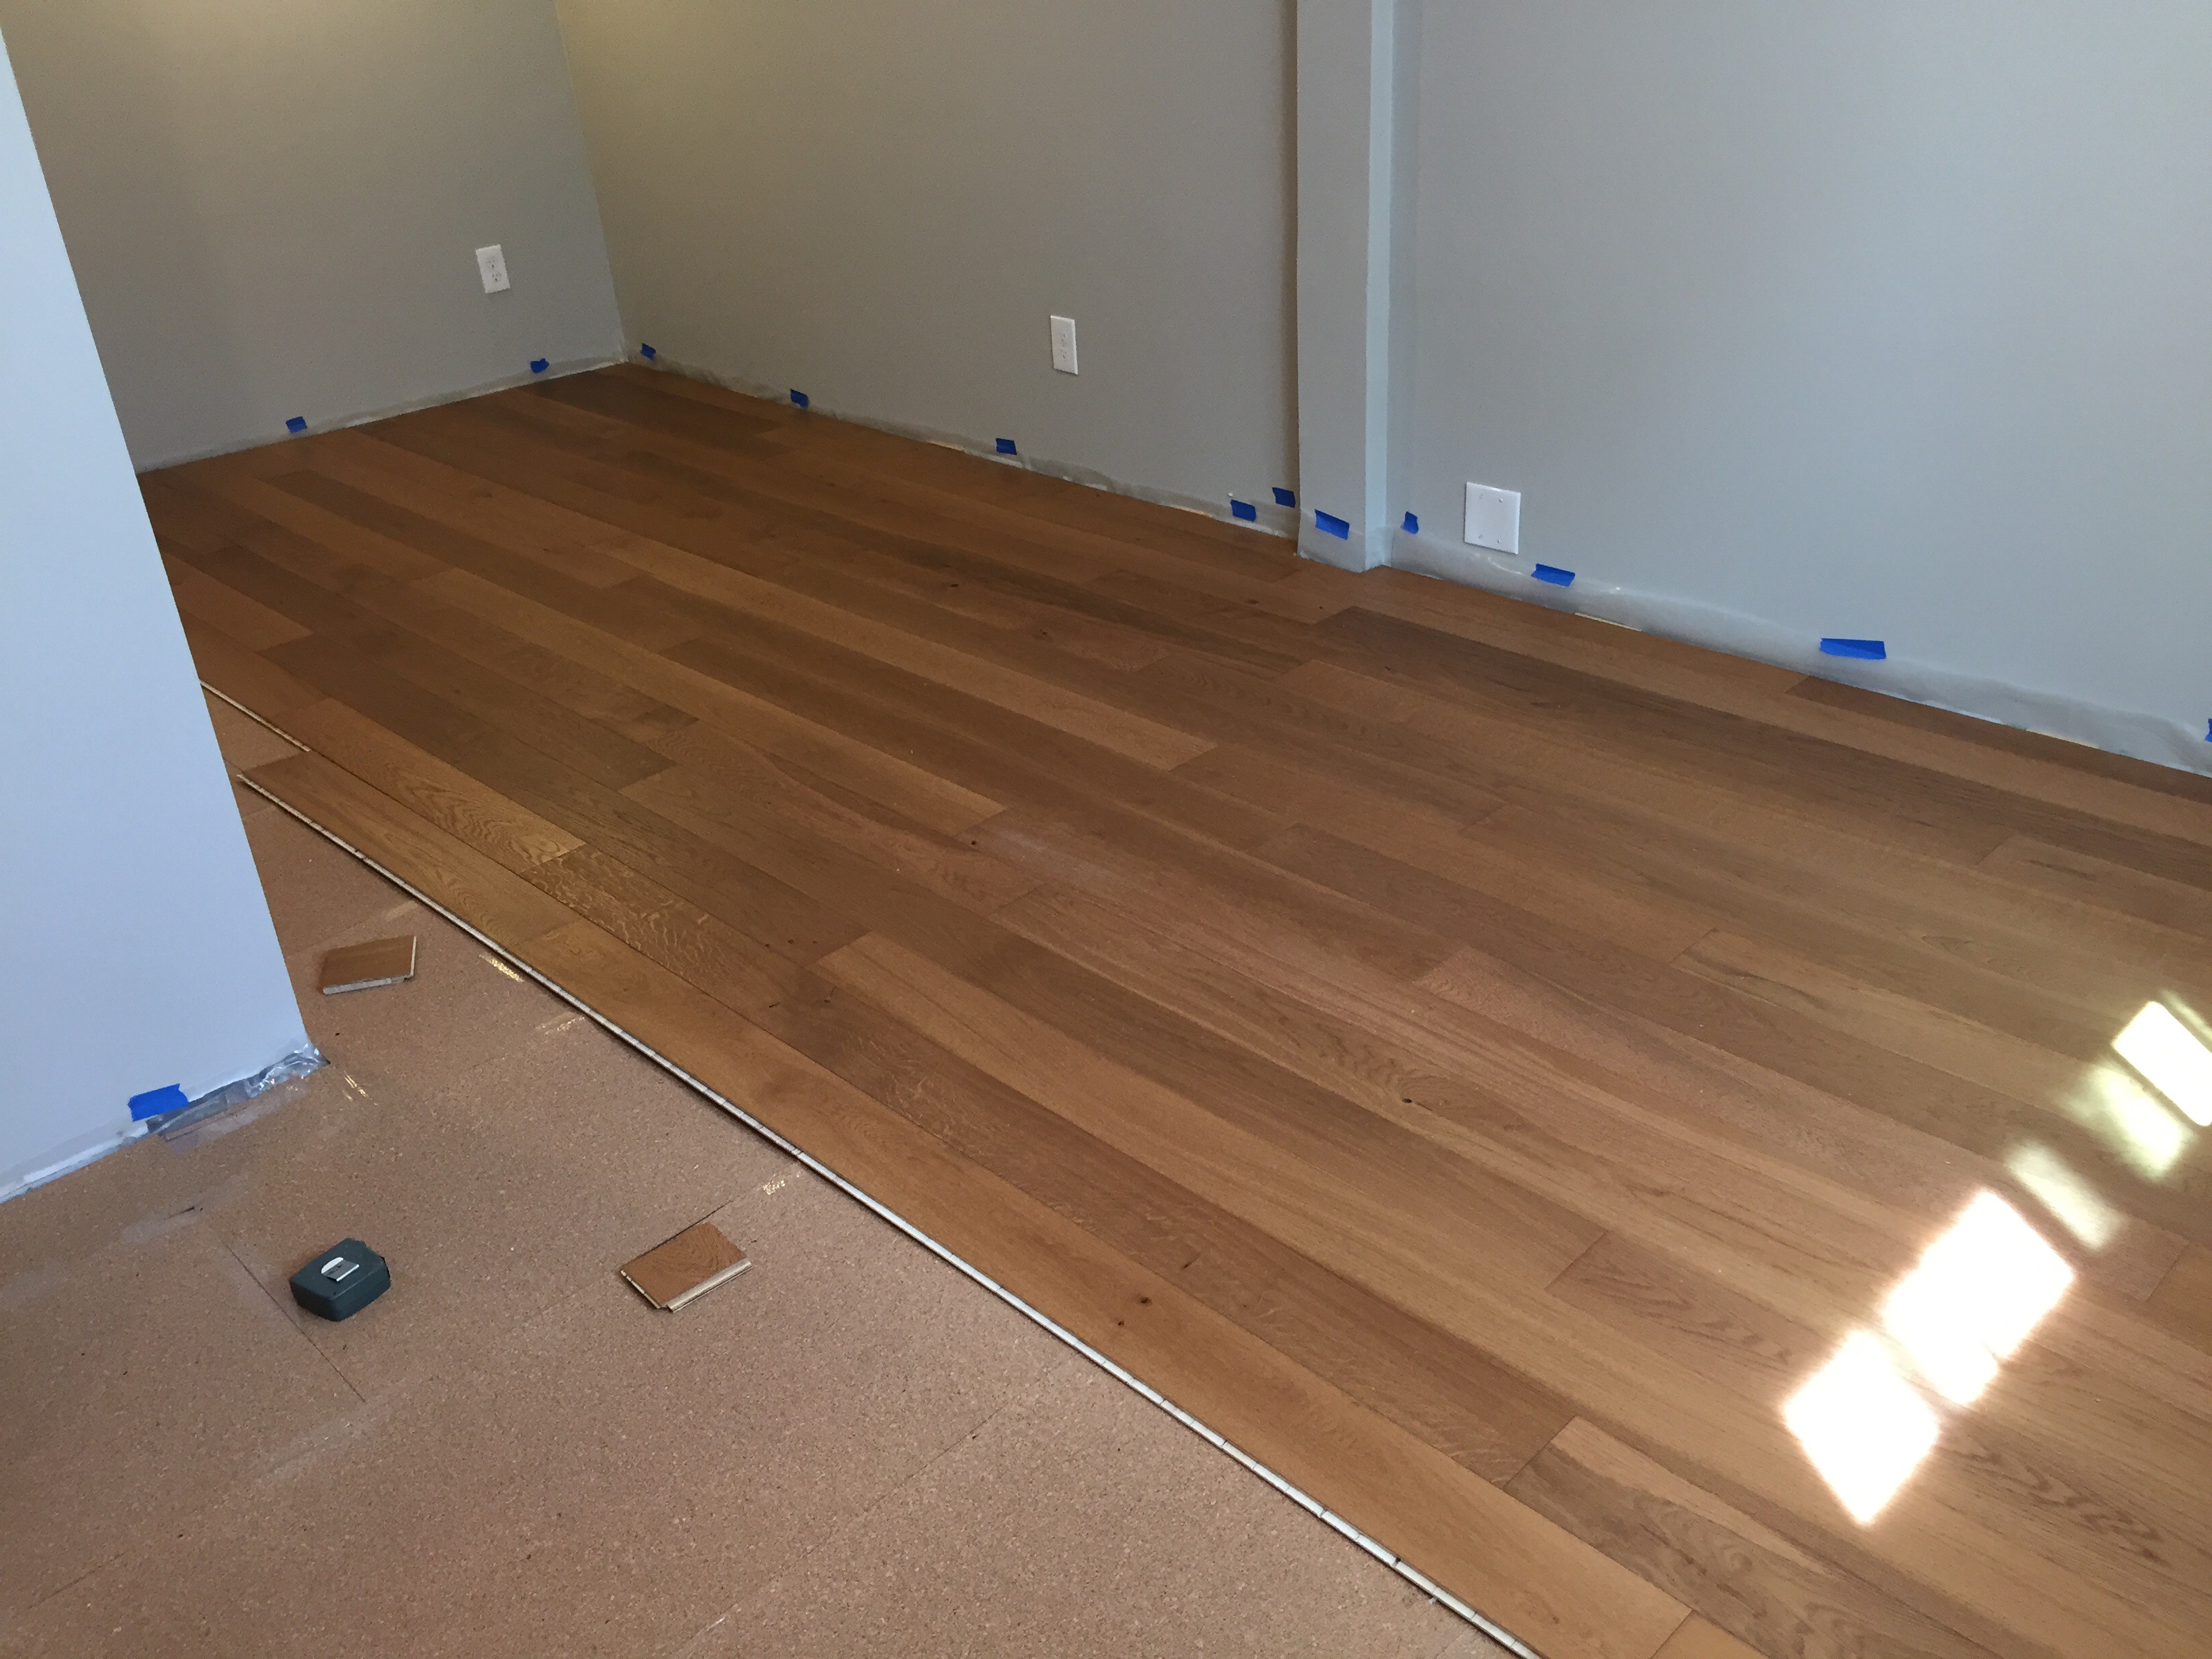
After the cork, it was time to start putting down the planks, which click together along the long edges and the ends.

This was definitely the fun part as it goes pretty quickly and it’s satisfying to see the progress. (Thanks, Claire, for the chop saw loan! Would’ve been a lot slower otherwise!)
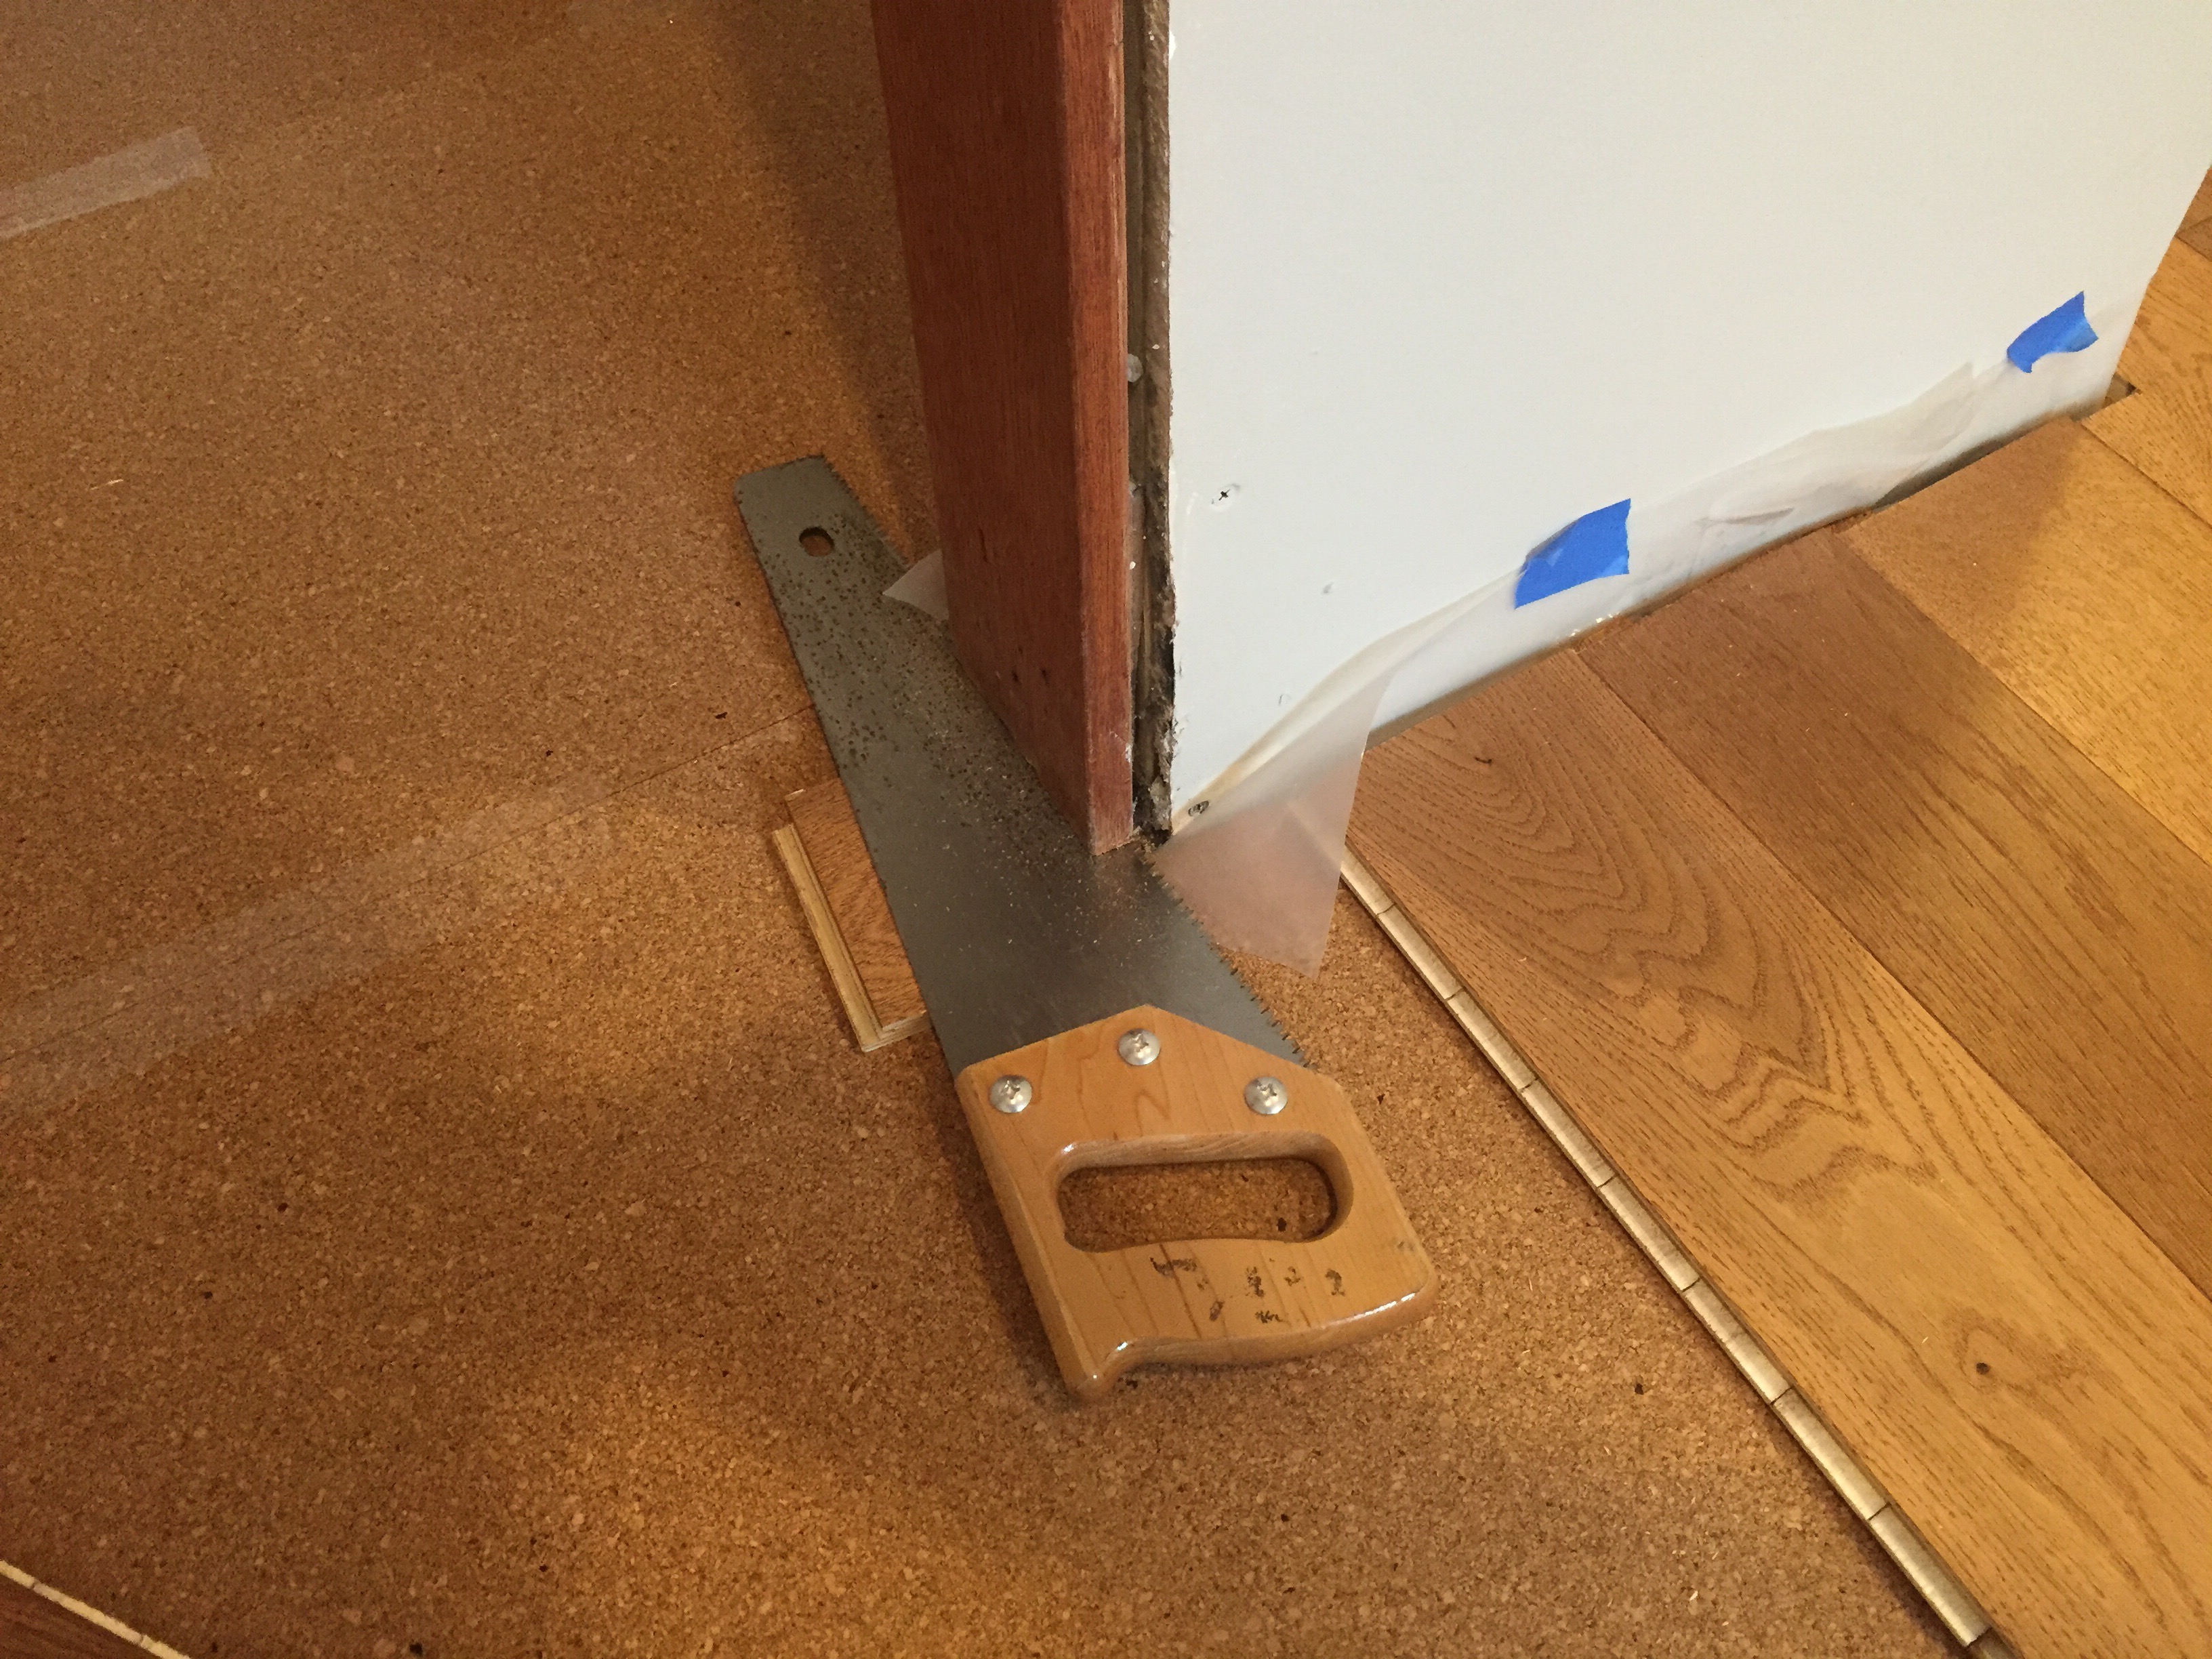
It wasn’t hard to trim the door jambs to accommodate the flooring – just use a cutoff to guide the saw.
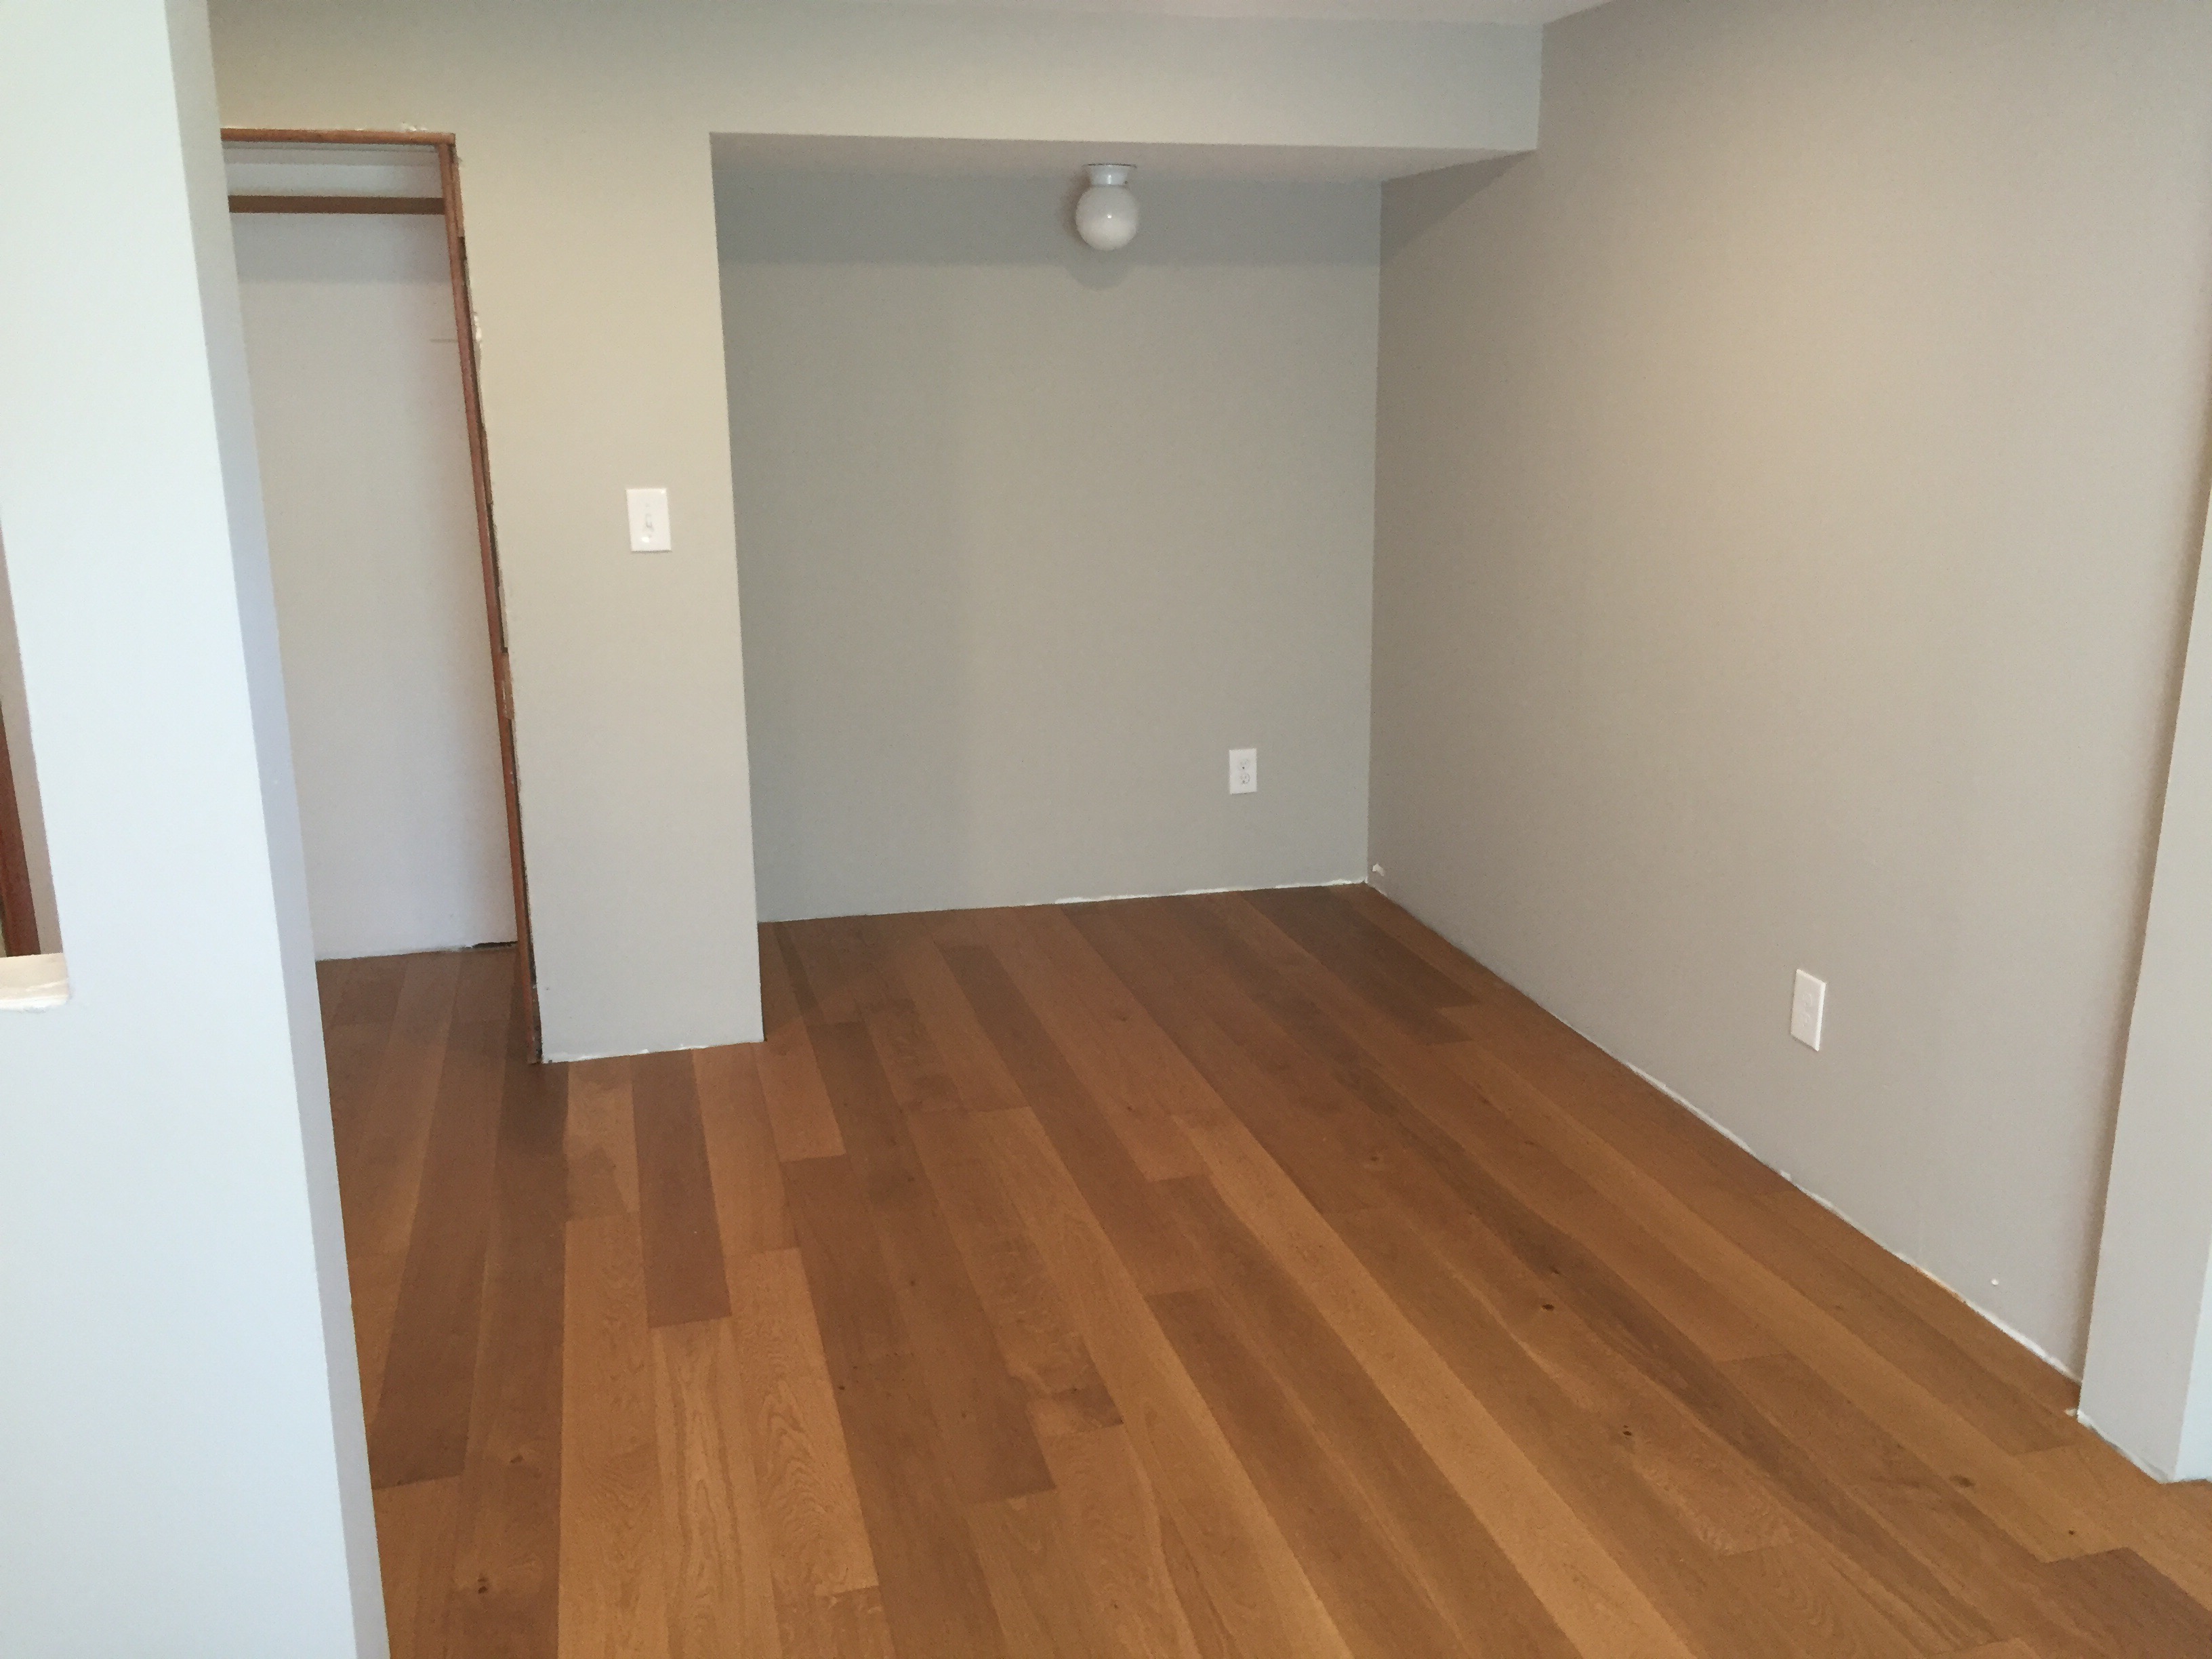
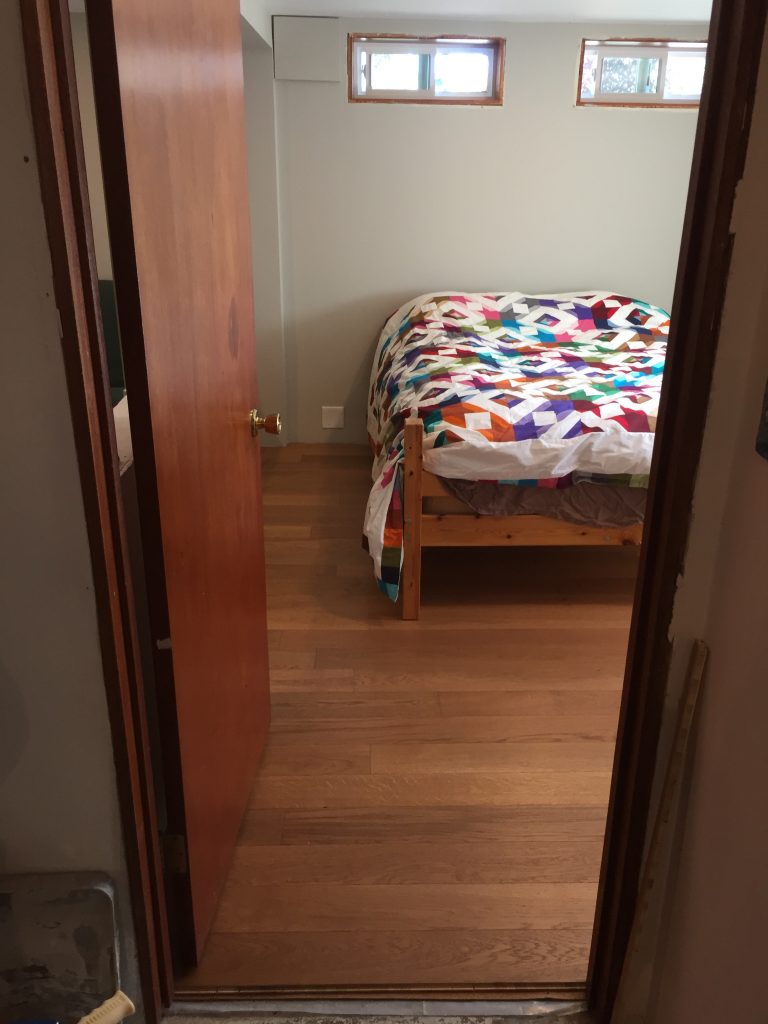
Here it is, all installed:
You might remember earlier when I said we tried to cheat. Here’s where the timing came back to bite us – there were a couple areas where the planks spanned a dip in the sub-floor, and the floor bounces just a little bit when you walk on those areas. End of the world? Hardly, but it’s one of those things that would irk me every time I walked through the room.
Unfortunately, we were out of time as we were departing for our travels the next day. So we moved the furniture back into the room and took off.
Sometime soon we’ll move all the furniture out again, pull up the floor (marking each plank so they go back in order), shim up the low spots with extra cork underlayment, replace the floor, and then replace the furniture. No big deal, right?
(Plus, of course, we have to trim out the room with baseboard moulding and the like.)